Practice changing flat tires
Published 2024-02-04
A few weeks ago I threatened to write a blog post about how to practice changing and patching a tire. I have some experience with such practice.
Ages ago I taught a workshop for my coworkers on how to patch a flat. It’s a good idea to do this at least once in a controlled environment (like the garage), for practice. The following is a general outline for how to practice. I can’t give specific advice here, because there are so many variables between individual bikes:
- Rim brakes vs. disc brakes vs. hub brakes
- Quick release axles vs. through axles vs. bolted axles
- Chains vs. belts
- Derailleurs (releasing tension of, passing bike under) vs. single speeds
- Presta vs. Schrader valves
Finally: this advice covers clincher tires, the kind with an inner tube. Tubeless, glue-on, and sew-on tires are much more complex! But even when I’m riding a bike set up with tubeless tires, I always carry a spare tire and patch kit — because if the tire is irreparable I will need to insert the spare tube, and that tube might get a flat! I also carry lots of tools with me because I like to help stranded cyclists.
but first…
Very general advice for bike maintenance and life generally
I have learned three important lessons the hard and expensive way:
- If I’m getting frustrated and obsessed with finishing this damn repair, that is exactly the right time to step away
- If I can’t apply enough torque to get a part to move or unbudge, or feel like I should maybe apply a cheater: don’t.
- If a tool interfaces with a bolt or nut or other part incompletely (i.e. is the wrong size), I will absolutely round that bolt or nut or other part, or the tool itself.
The picture above is by my middle child, who drew this when she was three or four years old. It was her first piece of representational art that we recognized. It’s called “Daddy Fixing Bikes.” The angry red dots are “Daddy’s disrespectful words.”
It is OK, at any time, to just put the tool down, turn off the garage lights, and go do something else.
With that ouf of the way…
Practice changing a tire
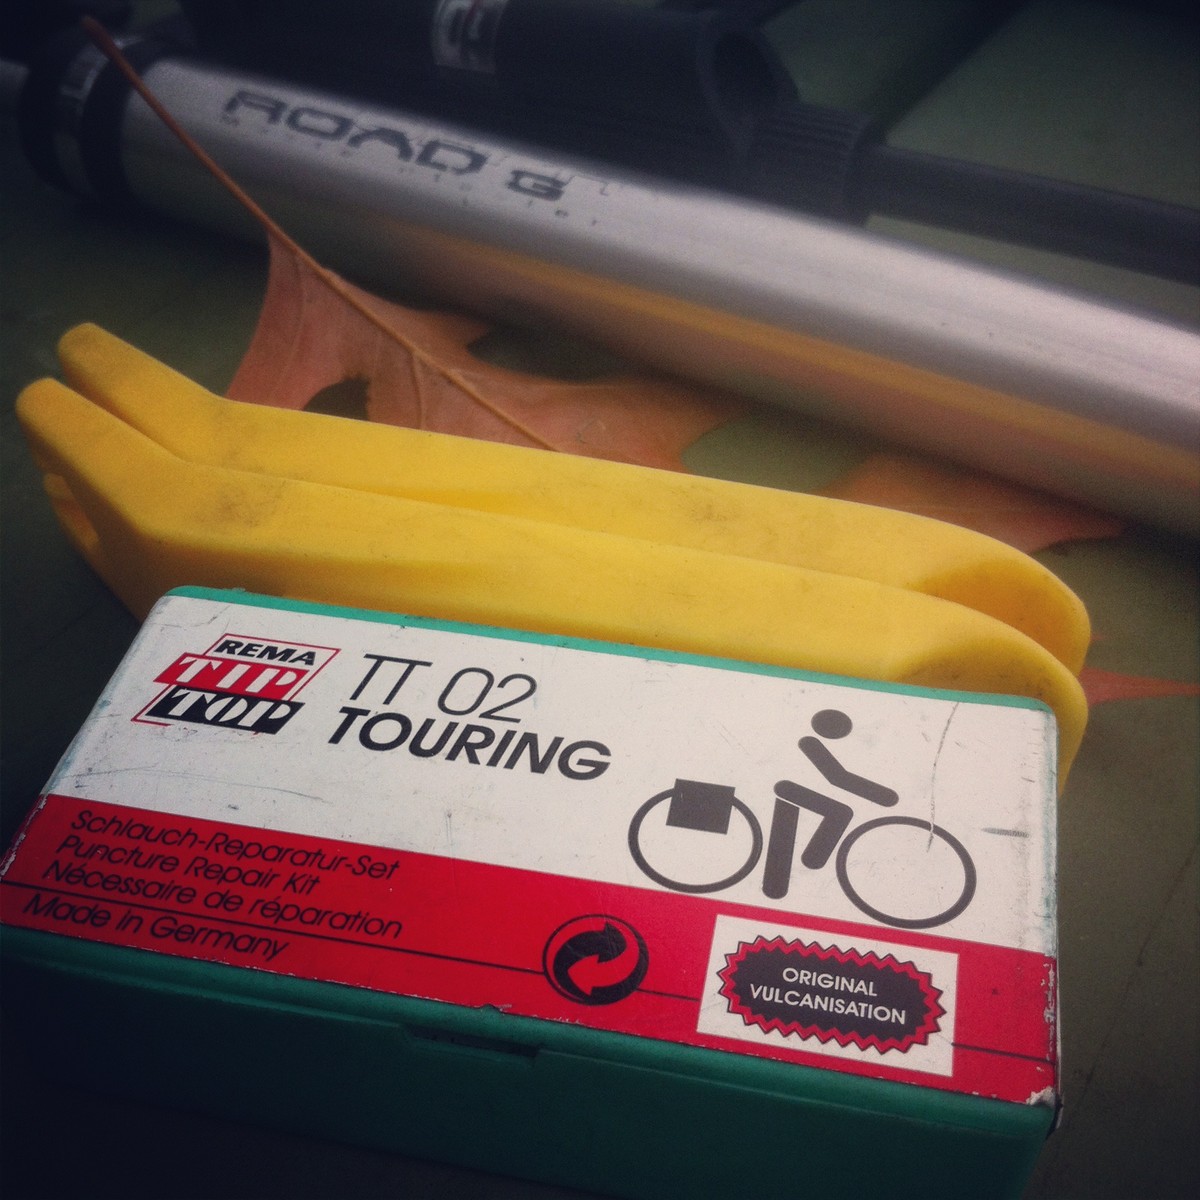
- Use only the tools you normally carry with you (like the mini-pump)
- Practice on your rear wheel, as it is more complicated. If you can master that, the front will be easier.
- Do not be afraid to use YouTube for pointers.
- Take the rear wheel on and off a few times first, until you are comfortable with that process.
- Completely deflate the tire (but don’t puncture it). This will help you understand your tube valve.
- Using your mini-pump, refill the tire. This will help you understand how your mini-pump works. Note especially how many pumps it takes to get anything remotely like full pressure (probably a lot).
- Completely deflate the tire again. Using your tire levers, take one side of the tire off the rim.
- Pull the inner tube out of the tire.
- Feel around the inside of the tire for the source of the imaginary puncture. This is just practice, so chances are good you won’t find anything (but maybe you will — and in the process save yourself a real puncture in the wild).
- Put the tube back in the tire. It might help to add a little bit of air to make the tube less floppy and easier to work with.
- Put the tire back on the rim, taking care not to pinch the inner tube Bonus points if you can do this without using the tire levers.
- Refill the tire again.
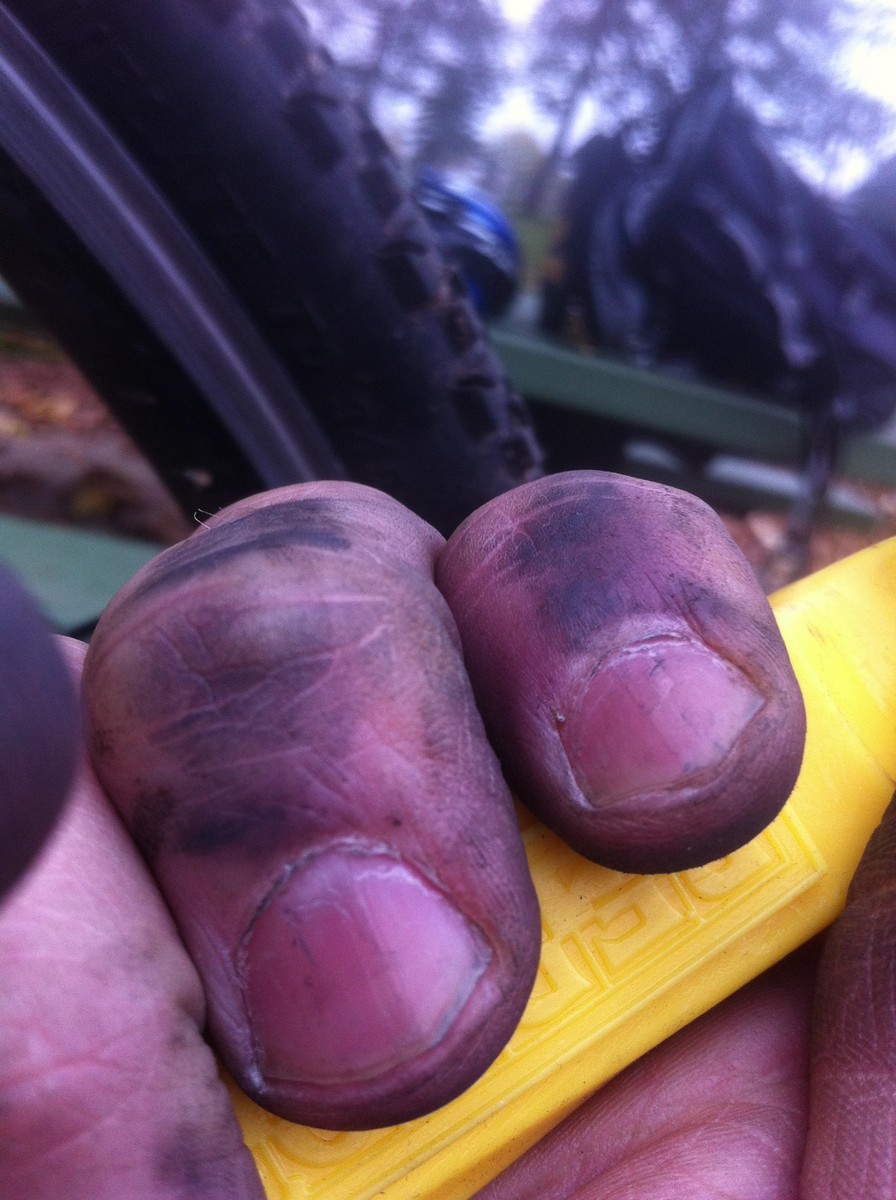
- Note how very very dirty your hands got during this process. Changing tires is always filthy, and even worse with rim brakes. This is why traditional bike shorts are black. (So you can wipe your hands on them, natch.)
If you always carry a spare tube with you, this is probably sufficient practice to get you out of most flat tire situations. But it’s good to know how to patch a tire, because the world sucks and you might get another flat tire before you get home (also, patches are cheaper than tubes). Once you have mastered changing a tube (above), practice patching a tube.
Practice patching a tube
- Puncture your tire (for real!) with a thumbtack or pin.
- Remove the wheel, lever off one side of the tire, and pull out the tube (as above).
- Find where the tube is punctured. This may require refilling the tube with the mini-pump while it is off the wheel, and listening for air hissing out, or passing it slowly through your bare hands and feeling for the air. For really tiny/slow punctures I often hold the tube near my lips. Sometimes, to pinpoint a really tricky puncture, I will lick the area I think is punctured. A puncture too small to see can can cause a flat tire.
- Using the sandpaper or scuff tool in the patch kit scuff a huge area around the puncture. I never seem to scuff a large enough area!
- Open the tube of glue. If this is the first time using this patch kit, you may need to pierce it with something. Usually the cap has a little spike on it for this purpose.
- Using the end of the tube of glue (not your oily/dirty fingers), smear glue around an area much larger than the smallest patch in your patch kit. I never seem to prep a large enough area! It’s OK if the cement gets on your hands, but don’t wipe it on any synthetic material like your jacket or backpack, as the cement will degrade that material a little bit.
- Wait at least 5 minutes for the glue to dry & cure.
- In the real world, while you are waiting, you should carefully inspect the inside of the tire to find what punctured your tube, as described above. This is one thing you can’t entirely practice at home but it is essential. My mantra is that the tire isn’t patched until I know what caused the flat.
- Peel the backing off your smallest patch (it is usually stiff metal foil) and press the patch firmly on the glue area, with the puncture exactly in the center. The active side of the patch is usually uniform orange or brown, that side should be against the glue. The outside of the patch usually has a stiff black plastic circle on it, that part should be visible. There is probably a layer of clear plastic on the outside of the patch — it’s not necessary to peel this off.
- Press the patch firmly onto the tube.
- Replace the tube, tire and wheel, and reinflate. (as above).
In the wild
Outside my garage, this seems generally to happen when it is freezing cold and pouring rain, and I am next to a busy street. I also think I get flats in clusters — weeks or months without a flat, then several in succession. Sometimes, in the act of fixing a flat, I will introduce another as a piece of debris gets into the tire while I’m changing it!
This is not entirely illusory. Winter roads have more debris: gravel and sand for de-icing, salt that degrades rubber, bits of glass and metal from tire chains, or spread around from accidents.
Feeling for the cause of a puncture is a vital step and easy one to miss. I feel for those with my fingers, which generally leads to pricking my finger on the culprit. If you have good eyesight you might spare yourself that discomfort. Then I carefully & thoroughly dig out the problem, which sometimes requires using a pliers (like a Leatherman) or a sharp pointy object like the tip of a knife or the end of a key.
Preventing flats
The best advice is to keep your tires inflated to the middle of the range stamped on the sidewall. This will at least prevent “snake bites” — pinch flats that occur in underinflated tires when the wheel passes over a sharp bump (like a stick or curb), and the tube gets pinched between the tire and the rim.
Lower-inflated tires also deform more, conform more closely to the road surface, and may pick up stray bits of debris that can work their way into the casing.
Well-inflated tires also tend to puncture more explosively, which lets me know right away that the tire is flat and needs changing. Versus a slow leak which takes me a long time to notice (“is something wrong with the bike or am I just getting tired?”)
It seems obvious, but never inflate a tire beyond its recommended maximum, especially in warm weather, when the air inside the tire will expand.
Change tires when they start to show wear. What this looks like will vary by tire. For tires with treads, that’s when the treads are flat on the center of the tire. Smooth tires sometimes have small indicator holes on them; when you can no longer see an indicator, time to change the tire. Definitely change a tire if you can see the inner casing (it is often brown or brick red) from the outside.
Some tires market themselves are puncture-resistant. They have thicker treads, stiffer sidewalls, and denser casing. Some have kevlar built into the casing.
Conversely: any tire that markets itself as “supple” or “responsive” is probably going to be more prone to punctures.
You can try adding kevlar strips to the inside of your tires, or using a tire sealant inside the tube. Other than making your wheels heavier, this probably won’t hurt.

